Painting Instructions for Decorative Rag Rolling Off

Rolling off wet glaze with a cloth
Subtractive rag rolling is a sophisticated, but also more challenging and time consuming technique than basic negative ragging, and the pattern it creates is more controlled and linear.
To rag roll off, you first apply glaze to a painted surface, then remove part of it by rolling a twisted rag from ceiling to baseboard.
NOTE: Just like regular ragging off, this version of rag painting looks especially good when executed in light colors, and large flat surfaces display it to best effect.
This technique is most often done with a light base and deeper glaze, but some colors work well layered light over dark.
IMPORTANT: The challenge - keeping your cloth moving evenly along your surface - remains the same, as does the solution: practice beforehand on a board, paper, or inconspicuous area of your surface.
Preparation
Prepare the same tools and materials as for the basic ragging off technique.Also protect the surfaces adjacent to where you'll be painting, apply the base coat and mix the glazing recipe as described in the same tutorial.
TIP: You'll get better results with two people working side by side: one to roll on the glaze with a roller and one to roll it off with a rag. Set aside the time to do an entire wall in one session so that the leading edge will be wet when you paint each adjacent section.
Application
1) Pour some of the glaze into the paint tray.Cut in the first corner: start at the ceiling and use the brush to apply the glaze all the way down. Also cut in for about 12" along the ceiling and baseboard.
Next, load the mini-roller with the glaze and roll two roller widths from top to bottom. Reload as needed.
2) Fold a rag in half and twist lengthwise, forming a long loose cylinder.
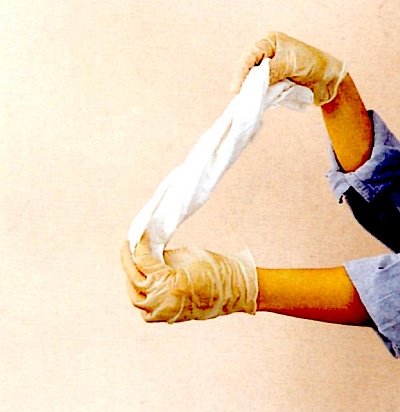
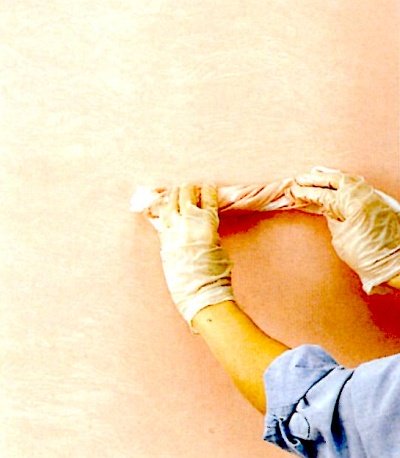
3) Place the twisted rag at the top of the wall, aligning one end with the corner. Using your fingertips, roll the rag down the wall, working your way to the baseboard.

Work until the rag starts to unroll (after about a foot), then re-roll and continue.
Make sure the roll does not extend all the way to the leading edge.
When the rag stops removing the glaze, re-twist it to reveal a clean area. When it becomes saturated, switch to a clean rag.
4) Cut in another 12" section along the ceiling and baseboard adjacent to the first section.
Roll 2 more roller widths of glaze from top to bottom, reloading as needed.
5) Roll your rag from ceiling to floor through the new glaze, slightly overlapping the previously rolled section, so that no line appears between them.
The strips should just touch each other.
Continue like this around the room. As you approach a corner, fold the rag into a shorter cylinder to fit the remaining space on the wall.
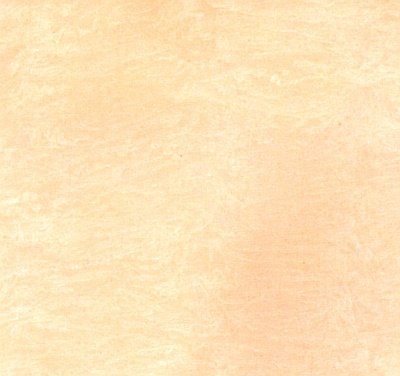
The finished surface has a liner pattern, almost like an informal watermark. Notice that you can see where one roll ends and the next begins.
Return to Ragging Off Paint Techniques.
Recommended:

Recommended:


