Instructions for Basic, Single-Color Ragging Off

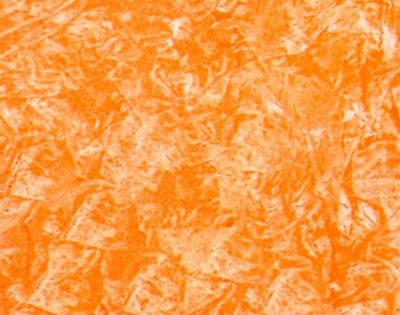
The basic ragging off technique
Ragging is one of the best known decorative techniques for many reasons: it is very adaptable, quick and easy to do, and needs no specialist tools.
The finish it creates can range from a soft, delicate and subtle, to a wild, carefree and more defined, depending on the color combination, the type of rag used to lift off the glaze, and the arrangement of the rag itself.
To rag, you repeatedly pounce a wadded cloth onto a wet allover glaze, removing some of the color and leaving many impressions of the cloth.
NOTE: this tutorial shows only one of many possible ways to rag off a wall - follow it as is to get a similar look, or modify it by using a different type of material as your "rag", or by folding the rag differently (the technique stays the same).
Before you start, go through these Tips and Tricks to make your rag painting project run smoother.
Tools and Materials
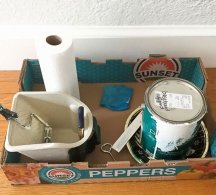
- clear glaze
- rubber gloves
- stirring sticks
- blue painter's tape
- paint tray with an extra liner
- brush and roller (for the base coat)
- mini-roller (for applying the glaze)
- plastic container (for mixing the glaze in)
- lots of rags of your choice (same type, same size - 1 sq foot)
- paint in 2 colors (satin finish; one for the base, one for the top coat glaze)
- solvent (water if using water-based paint and glaze, mineral spirits if using oil-based products)
IMPORTANT: remember to use clean rags that don't have any frayed edges. You don't want deposits of little strands of thread to mar your finish.
Preparation
Use the brush and roller to apply 1-2 coats of the base color, as needed for adequate coverage. Let the paint dry completely (at least overnight for latex, 2 days for alkyd).Mask off the ceilings, baseboards and any adjoining areas that are not getting painted.
Mix your colored glaze in a plastic container, using:
2 parts clear glaze + 1 part paint + 1 part solvent
Change the liner in the paint tray, and pour the glaze mixture in it.
TIP: Ragging off is most easily executed by two people working together (although it is quite possible to do it on your own, especially for smaller areas).

The first person applies the glaze to the wall, starting at the ceiling and working downwards in a workable strip about 3' wide. The second person rags over the strip, following the first person around the room.
Application
1) Apply the colored glaze: start at the top of the wall and cut in the edges with the glaze, using the brush.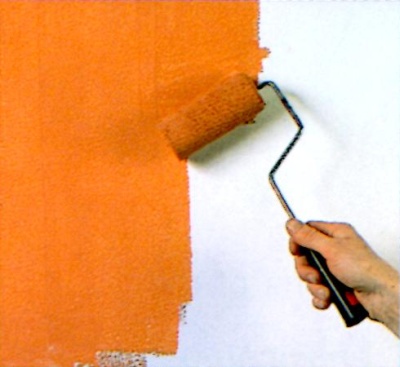
Next, apply the glaze with the mini-roller to an area of about 3'x3'. Make sure 100% of the surface is covered, with no thin patches of base coat showing through.
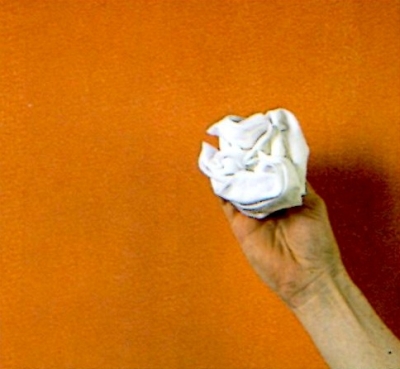
2) Form your cloth rag into a desired shape (here, the rag is crumpled up so it looks like a rose, but you are free to use whatever arrangement leaves an imprint you like).
3) While the glaze is still wet, dab the rag onto the surface - it will absorb and lift off some of the glaze.
Rotate your wrist and reposition your arm in the air, and dab again, trying to hold the cloth at a slightly different angle for each stroke.
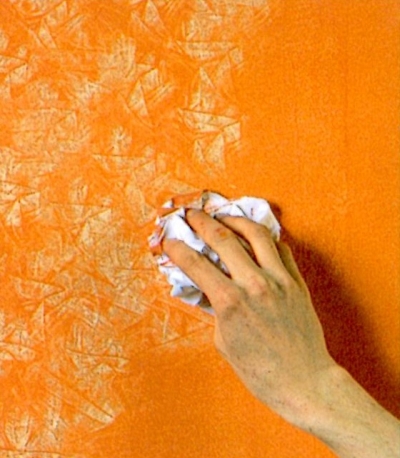
When you see the imprints start to lighten, re-arrange the cloth in your hand to expose clean portions. Once it becomes completely saturated, replace it with a clean one.
Continue dabbing and removing the glaze in this manner until you've ragged off the entire section.
4) Stand back regularly to evaluate the finish - any areas with too much top-color build up should be touched up immediately while the glaze is still wet; spots that look too light can be blended in at the end, even after the finish is dry.
TIP: do not overwork the ragging if you want a crisp, defined texture - dab about 70% of the surface.
5) Roll on another section of glaze and repeat Step 3 and 4. Make sure to overlap the wet edge of the previously ragged area.
Continue this process of rolling on the glaze and ragging it off until you reach the corner (rag the corners as you get to them - you can't leave them for later because by then the glaze will be dry and unworkable).
Return to Ragging Off Paint Techniques.
Recommended:

Recommended:


