How to Rag Roll Paint On Your Walls

Tone-on-tone rag rolled paint effect
In rag rolling, you work with a roll of cloth that produces a rhythmic linear pattern - in contrast to the random effect of the loosely bunched rag in all the other rag painting techniques.
NOTE: due to the structured nature of rag rolling, it can be hard to continue the effect around corners without breaking the continuity.
Another challenge is moving the rag evenly and vertically up or down the wall. For these reasons, this technique is recommended only for small accent walls.
Preparation
Refer to the basic ragging tutorial to learn how to prepare your surface and what tools and materials you'll need.The key to the distinctive look of this finish is the shape of the rag, so practice first on a board to see if you like the imprints your rag makes.
You also want to get comfortable with the actual rolling motion before you start on the walls, and figure out which direction (up or down) gives you more control of the rag.
TIP: the less contrast there is between the base coat and the glaze color, the more forgiving and graceful this finish will look.
Application
1) Saturate a 2-foot square rag in your colored glaze mix, then squeeze it thoroughly so that it doesn't drip.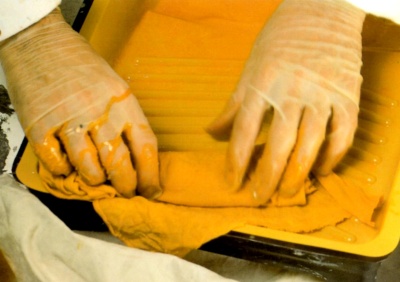
Fold the rag in half and then roll it lengthwise into a loose cylinder (you can also twist it slightly, for more texture).
2) Place the rag at the very top or bottom of the wall and slowly and carefully roll it vertically (up or down the surface - depending on where you start).
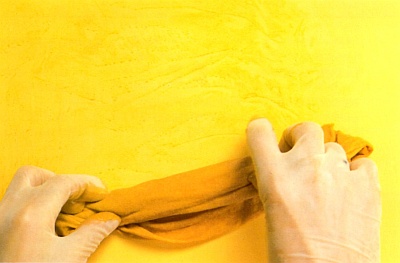
Hold the rag at the ends but try to spread your fingers along its length as you roll, so that the middle part also gets some pressure.
Focus on maintaining the shape of the rag to keep it from unrolling (which can start happening after about a foot).
3) When you reach the end of your first strip, reload and re-roll the rag and start the next one, overlapping the edges just a little bit.
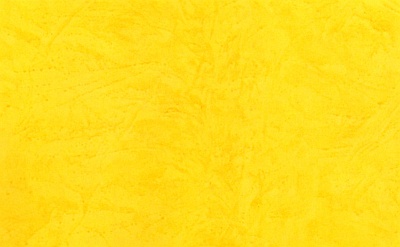
NOTE: keep in mind that if your working strips are long, you may get somewhat of an ombre effect - darker at the start, lighter at the end.
It can actually look intentional (if you start all your strips in the same place), but it's also another reason why this technique is not recommended for regular size walls (hard to maintain the same color saturation from top to bottom).
|
||
|
||
Recommended:

Recommended:


