Cross-Hatch Ragging Off Paint Technique

Decorative crosshatch finish created with paint
Here is an interesting painting technique called crosshatch ragging.
When completed, the decorative finish resembles grass cloth.
This technique can be done as an additive or subtractive paint method, but here you will learn how to do it subtractively - by using a piece of plastic to remove some of the wet glaze and create the crosshatch effect.
Preparation
You will need the same tools and materials as for the basic ragging off technique, but instead of the rags, get some painter's plastic (you can buy it in paint, home improvement or even hardware stores - you will need one package/roll for a regular size room).Cut in and roll on the base coat as you would for regular painting, and let it dry overnight. Protect the floor and mask off the ceilings, baseboards, trim around doors and windows and any other areas that are not getting painted.
Mix the glaze using the recipe in the same basic tutorial.
TIP: practice this technique on a cardboard to see how large a piece of plastic you feel comfortable working with, then cut several pieces in that size.
Application
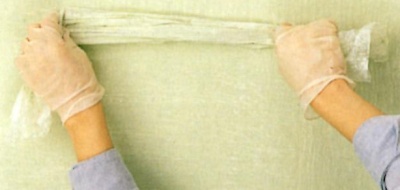
1) Cut in the first corner and apply 2 roller widths of glaze from the ceiling to the base.2) Hold one piece of plastic taut in both hands and scrunch it up from top to bottom. Adjust your grip so that you can keep the plastic taut and scrunched while working with it.
3) Hold the scrunched plastic parallel to the ceiling and pounce it on the wet glaze, all the way down to the baseboard.
Be careful not to leave fingerprints in the glaze (check the finish regularly and correct immediately, by pressing the plastic into any accidental imprints, to blend them into the overall pattern).
Rotate the plastic after a few pounces, to expose clean areas. When it becomes saturated and stops picking up the glaze, change to a new piece.
4) Return to the ceiling and hold the scrunched plastic perpendicular to the ceiling this time.
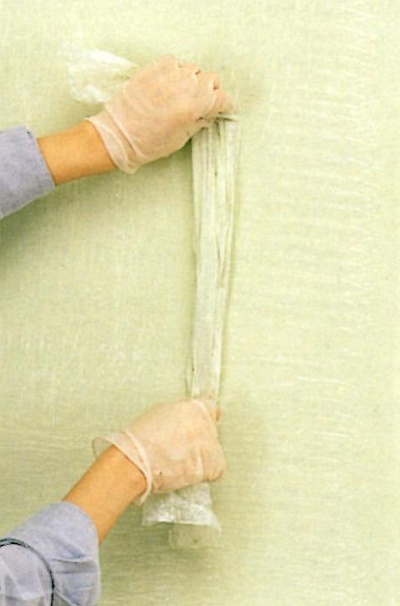
Beginning at the ceiling in the corner, now pounce it vertically across the previously pounced glaze. Then reposition the plastic beneath the section and repeat, working like this all the way down again, to create a crosshatch pattern.
5) Cut in another section along the ceiling and baseboard adjacent to the first section. Roll on another roller width of glaze from top to bottom.
Rag with scrunched plastic horizontally and vertically, as before. Continue in this manner until the wall is complete.
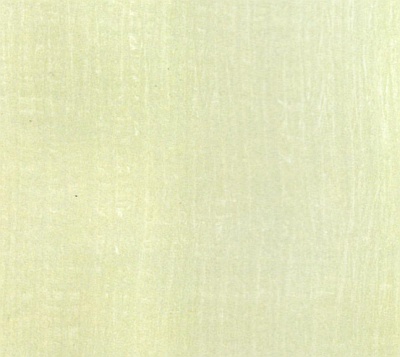
The final grass cloth effect is a good choice for a decor with a retro or island theme, and it's easy enough to do, especially if it's just an accent wall or a powder room.
Return to Ragging Off Paint Techniques.
Recommended:

Recommended:


