Instructions for a Subtle, Barely There Sponge Painting Technique

Light-handed sponge painting technique
Question:
I want to create a subtle, barely-there sponge painting finish on my kitchen walls.I've already selected the colors, and I'm practicing the technique on sample boards right now. But it's not coming out the way I want it; it still looks too heavy and harsh!
What am I doing wrong?
Answer:
Without actually seeing what you are doing, I can't tell where exactly you are making a mistake.But there are 3 main things to pay attention to when trying to create a subtle sponged on finish: color, recipe and your application technique.
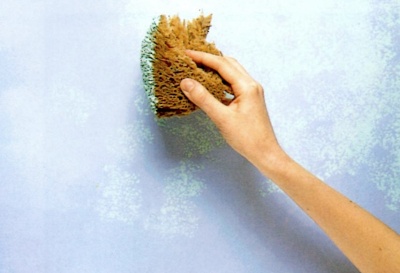
- The less contrast you use between the base coat and overlay colors, the softer the effect.
- Which brings us to the next potential cause of the problem - the recipe (or lack thereof).
- And finally, your application technique may be the one to blame here.
So first, see if your top coat color is the culprit that's making your end result look too harsh.
And if you don't want to change the color for a less contrasting one, another option is to just dilute it with more clear glaze - to make it more transparent and light-weight.
Are you using the paint straight out of a can, or are you using the right glazing recipe? Undiluted paint is simply too thick and opaque to create a delicate finish, so it should always be mixed at least with some water.
For an even more translucent and delicate look, add some clear glaze to it as well.
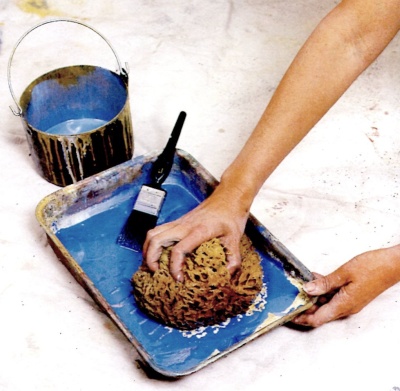
Before dipping your sponge in the glaze, it should always be softened in a bucket of water first - otherwise it's too stiff and messy to work with.
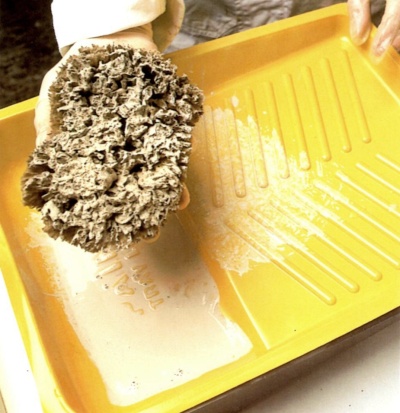
Also, make sure your sponge is the right shape. While usually it's better to use a flat sponge (or the flat side of a sponge), in this case you might want to try using the more rounded side (the one that has "tips" sticking out).
Just use different sides of the sponge on a cardboard and see the effects they create. And if yours doesn't work no matter which side you try, go buy a new one (look specifically for one with lots of fine "tips").
Don't overload the sponge with glaze, or your first imprints will always be muddy and drippy - maybe that's what you are seeing on your practice boards now?
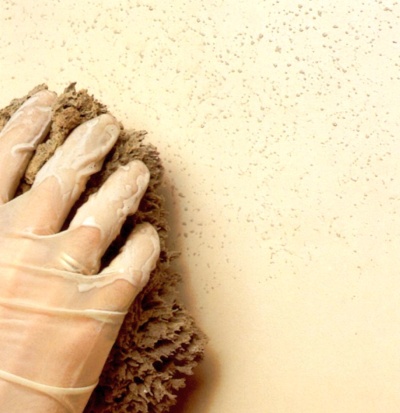
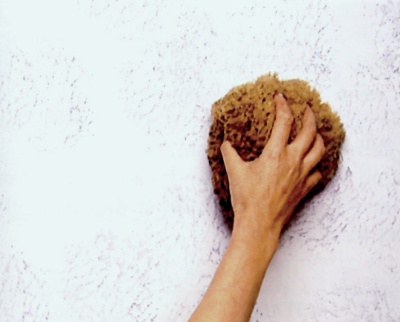
And finally, pay attention to how you hold the sponge - squeezing it will change its shape and make messy imprints.
Work from the wrist, not the elbow, and use a very light touch when gently dabbing the wall - let your hand feel like a butterfly.
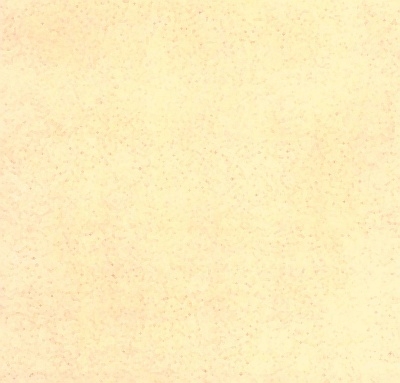
Don't pounce too densely - if you want a delicate finish, you should cover only about 30% of the base coat, and leave the remaining 70% to show through.
Click here to ask your own question about sponge painting.
Return to Sponge Painting Q&As.
Recommended:

Recommended:


